

Available on the Enterprise plan. Currently in beta. Contact sales to learn more.
How it works
When SCIM is configured, your identity provider communicates with Ona through a SCIM endpoint using a bearer token for authentication. Changes in your IdP directory, such as adding a new employee or disabling an account, are automatically reflected in your Ona organization. SCIM provisioning is linked to an existing SSO login provider. The linked SSO configuration determines how provisioned users authenticate when signing in to Ona. Each SCIM bearer token is scoped to one SCIM configuration. The token can list and manage only groups created by that configuration. Groups created by another SCIM configuration, system-managed groups, and direct-share groups are excluded from list results. Requests to retrieve or modify those groups return404 Not Found.
A SCIM bearer token can list or modify only users owned by its linked SSO configuration. If multiple SCIM configurations link to the same SSO configuration, their tokens share access to those users. Requests for a user owned by a different SSO configuration return 404 Not Found.
Prerequisites
- An active SSO login provider configured in your organization
- Admin-level access to your organization settings in Ona
- Admin access to your identity provider (e.g., Microsoft Entra ID)
Setting up SCIM in Ona
Step 1. Open SCIM configuration
Navigate to Organization Settings > Login and Security. Scroll to the SCIM Provisioning section.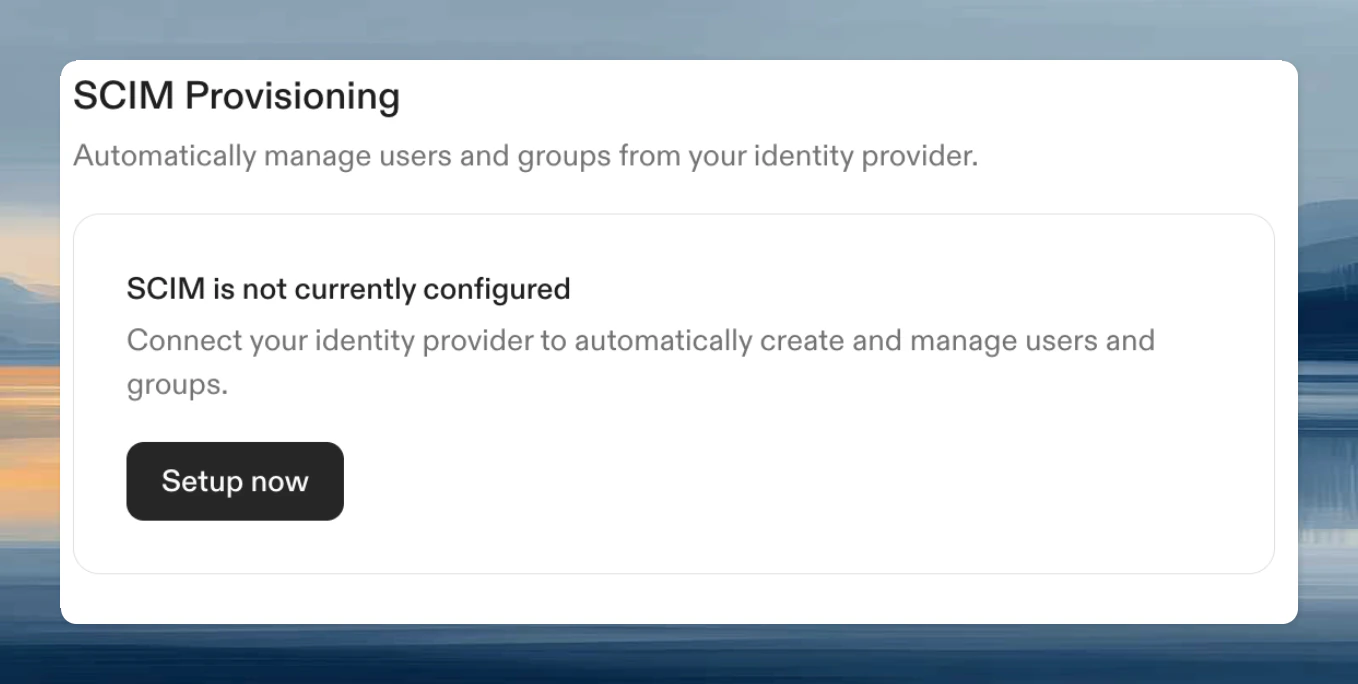
Step 2. Create a SCIM configuration
In the configuration dialog:- Select the Linked SSO configuration. This is the SSO provider that provisioned users will use to sign in
- Enter a Name for this SCIM configuration
- Click Create
Configuring your identity provider
Microsoft Entra ID
Creating an Enterprise Application
If you don’t already have an Enterprise Application for Ona, create one:- Open the Microsoft Entra admin center
- Navigate to Enterprise Applications
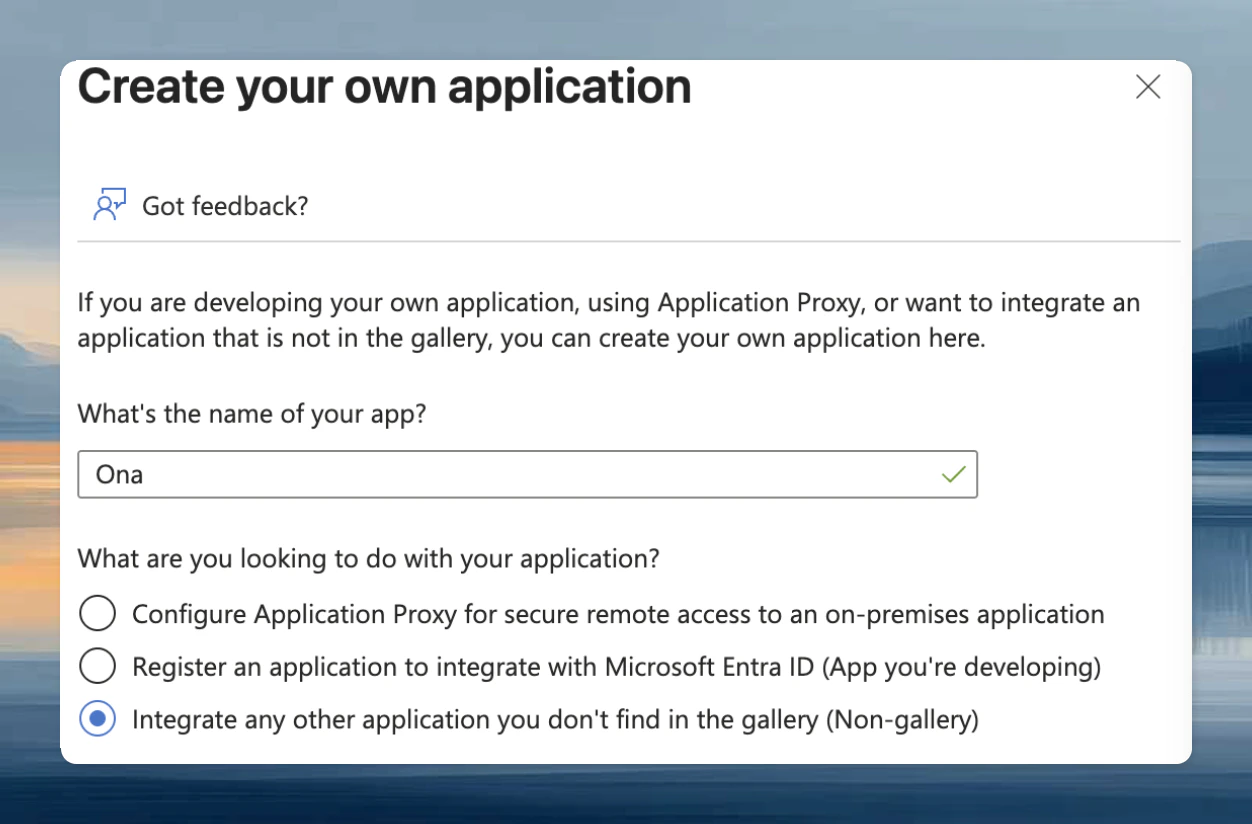
- Click New application, then select Create your own application
- Enter a name for the application (e.g.,
Ona) - Select Integrate any other application you don’t find in the gallery (Non-gallery)
- Click Create
Configuring provisioning
- In the Microsoft Entra admin center, navigate to Enterprise Applications and select the application you created for Ona
- Go to Provisioning and select Provisioning again
- Set Provisioning Mode to Automatic
- Under Admin Credentials, configure the following:
- Authentication Method: Bearer Authentication
- Tenant URL: Paste the SCIM endpoint URL from Ona
- Secret Token: Paste the bearer token from Ona
- Click Test Connection to verify the configuration
Scoping users
We recommend provisioning only the users who will use Ona, rather than your entire directory. You can control this with scoping filters in your identity provider. In Microsoft Entra:- In the Provisioning tab, select Mappings
- Open the mapping for Users or Groups
- Under Source Object Scope, add a Scoping Filter Group to limit which users are provisioned
Restricting account creation to SCIM
Once SCIM is configured and enabled, you can require that all organization access goes through SCIM by enabling the Restrict account creation to SCIM policy. When enabled, users who can authenticate via SSO but are not provisioned through SCIM are blocked from joining the organization. This is useful when you want your identity provider to be the single source of truth for who has access to Ona.Request limits
SCIM user and groupPOST, PUT, and PATCH request bodies must contain exactly one JSON value and fit within 8 MiB (8,388,608 bytes). The backend allows 10 seconds to read each admitted body. Each backend instance accepts up to two concurrent body reads per organization, across all its SCIM configurations, and eight across all organizations.
These admission errors use the SCIM error format. A
429 concurrency admission response includes Retry-After: 1, measured in seconds. The default request rate limit is 100 requests per minute per organization.