

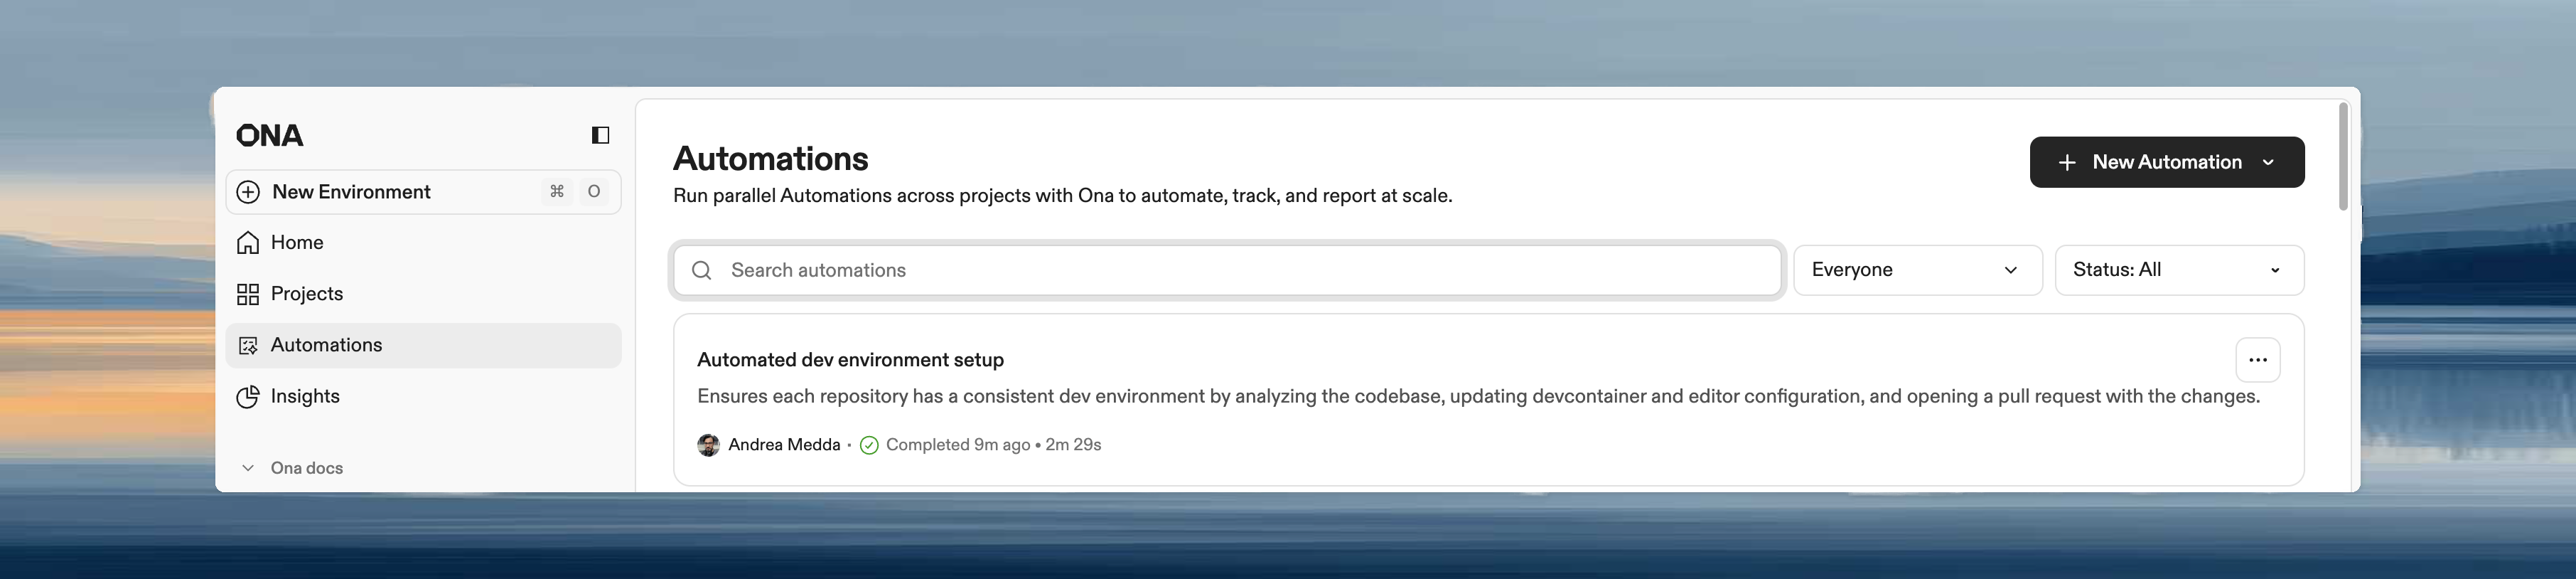
Create an Automation
- Navigate to Automations in the left panel.
- Click New Automation.
- Choose Start from scratch or select a pre-configured template.
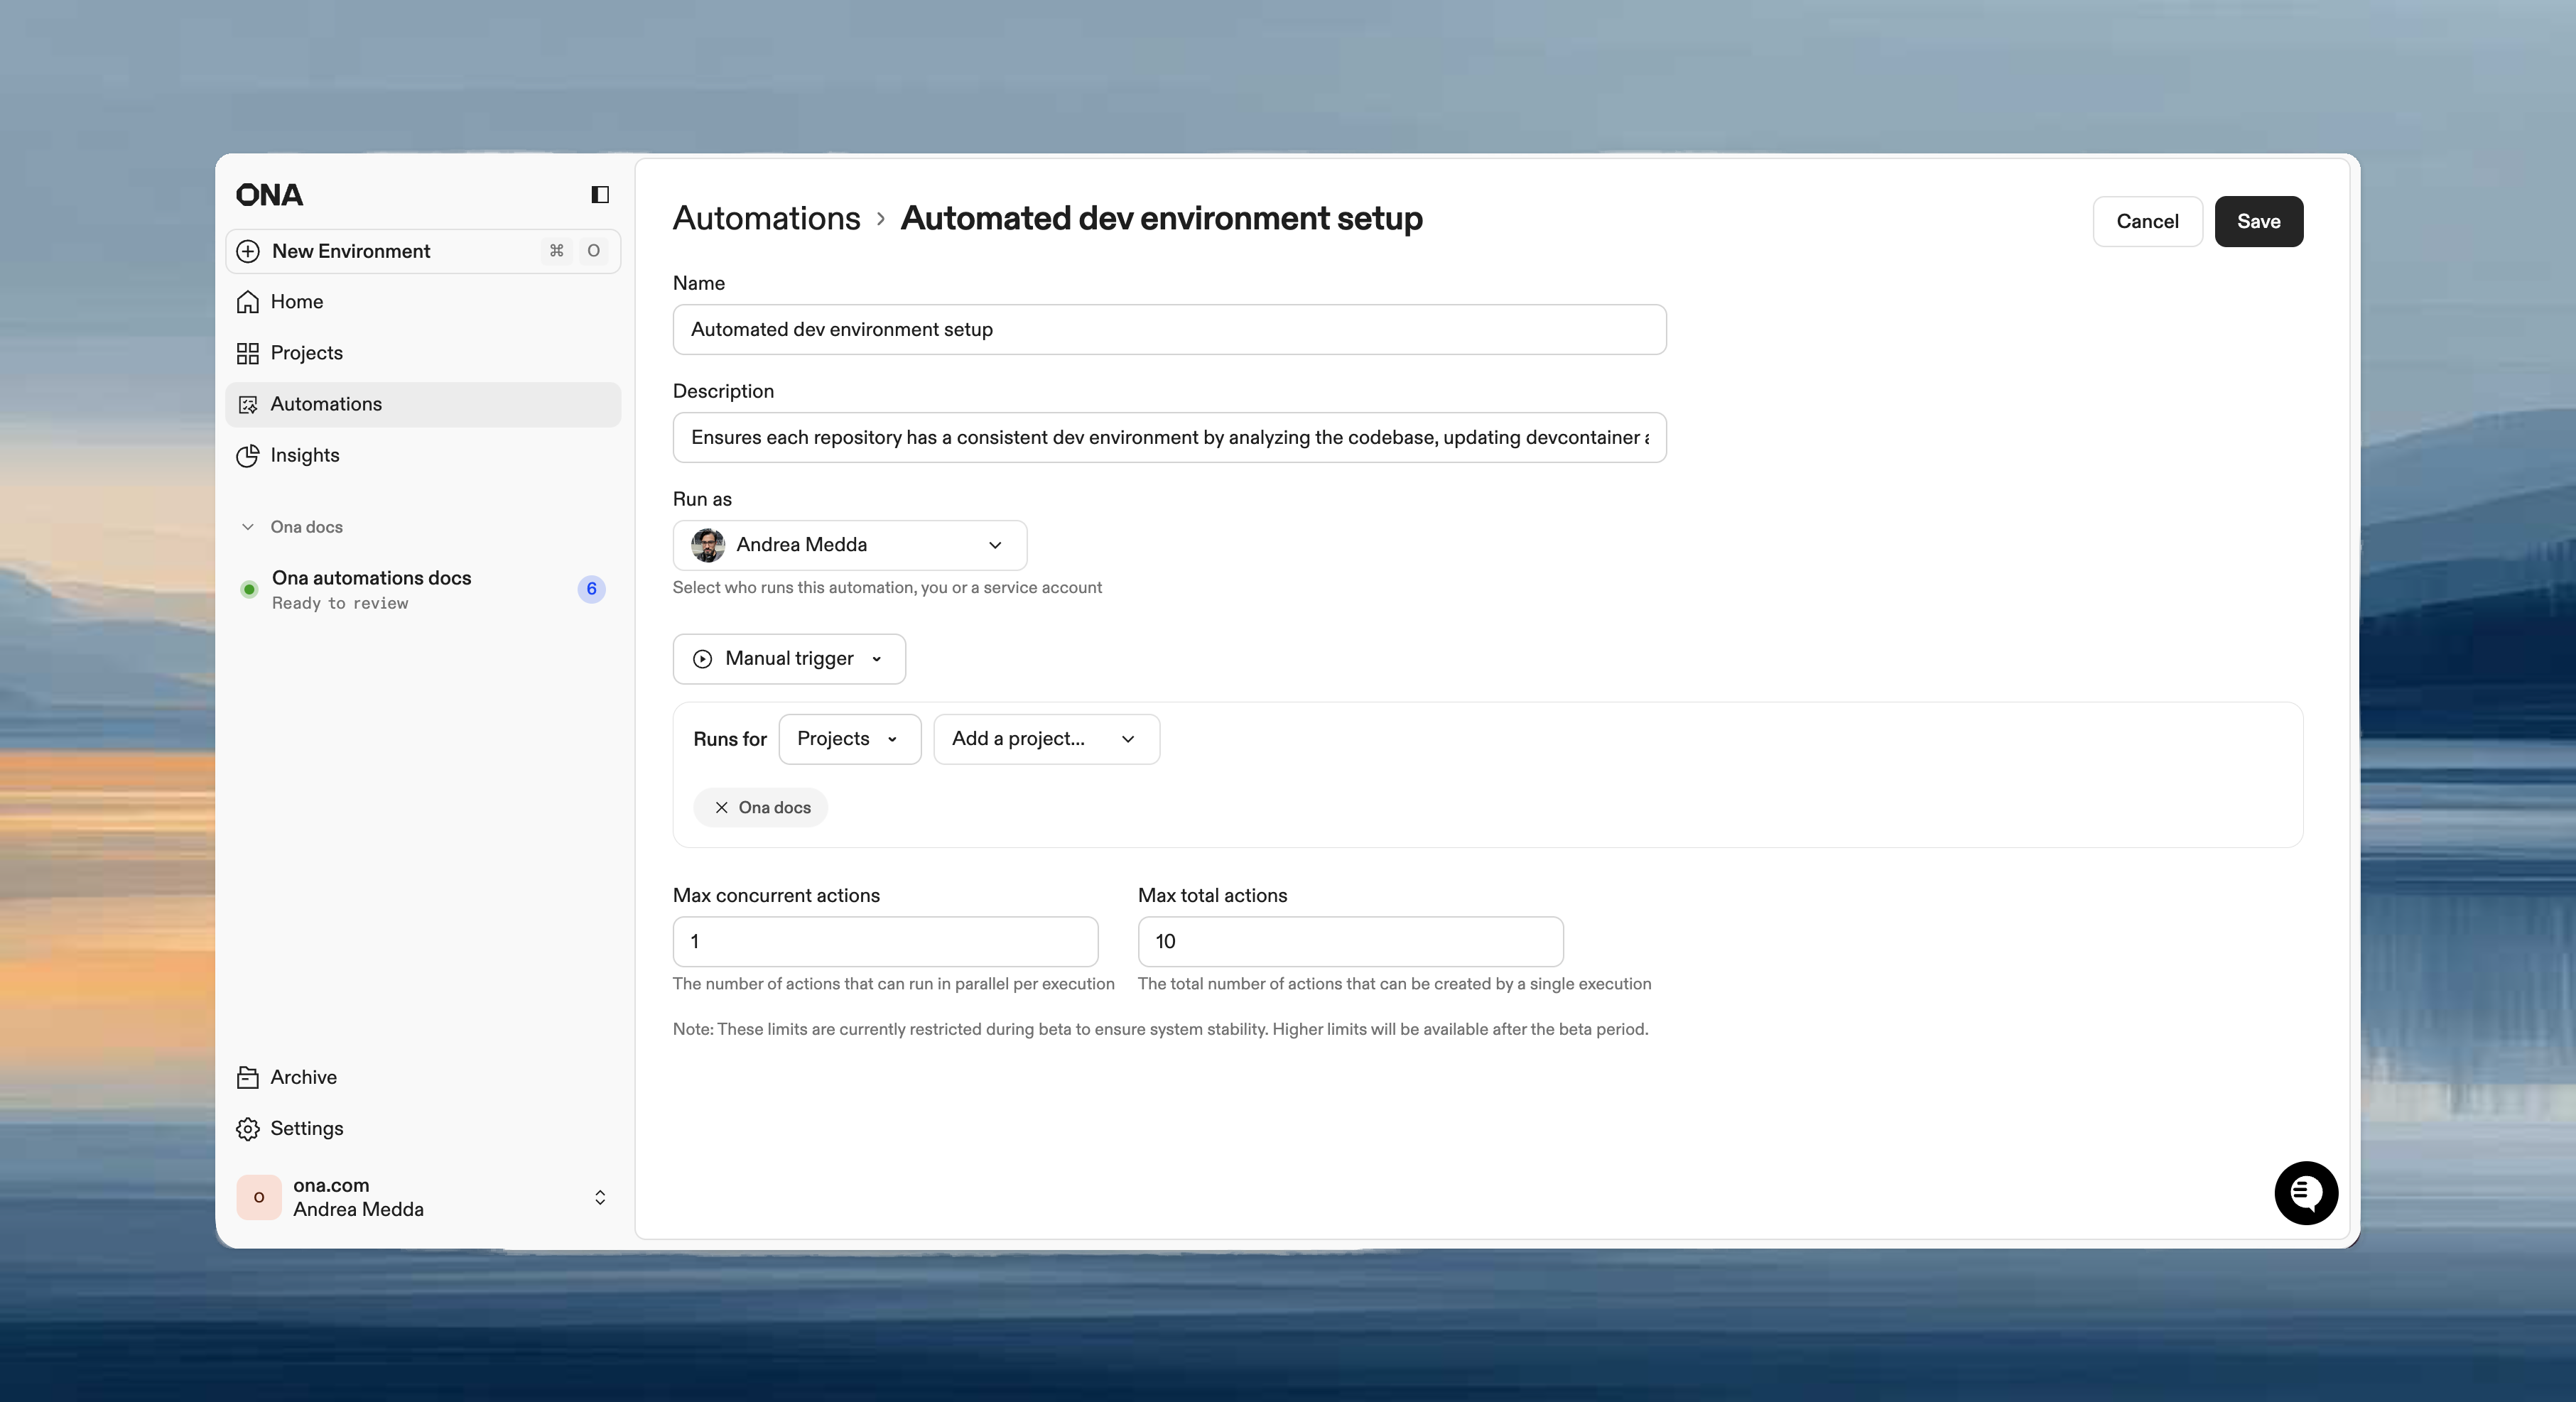
Basic settings
- Name: short, descriptive name (e.g., “Weekly dependency updates”)
- Description: what the Automation does
- Run as: your user (manual workflows) or a service account (scheduled/event-driven)
Trigger type
- Manual: run on demand
- Pull request: trigger on PR events
- Time-based: run on a schedule
Guardrails
Control execution limits to prevent Automations from running excessively:- Max concurrent executions: simultaneous runs
- Max total executions: total allowed per run
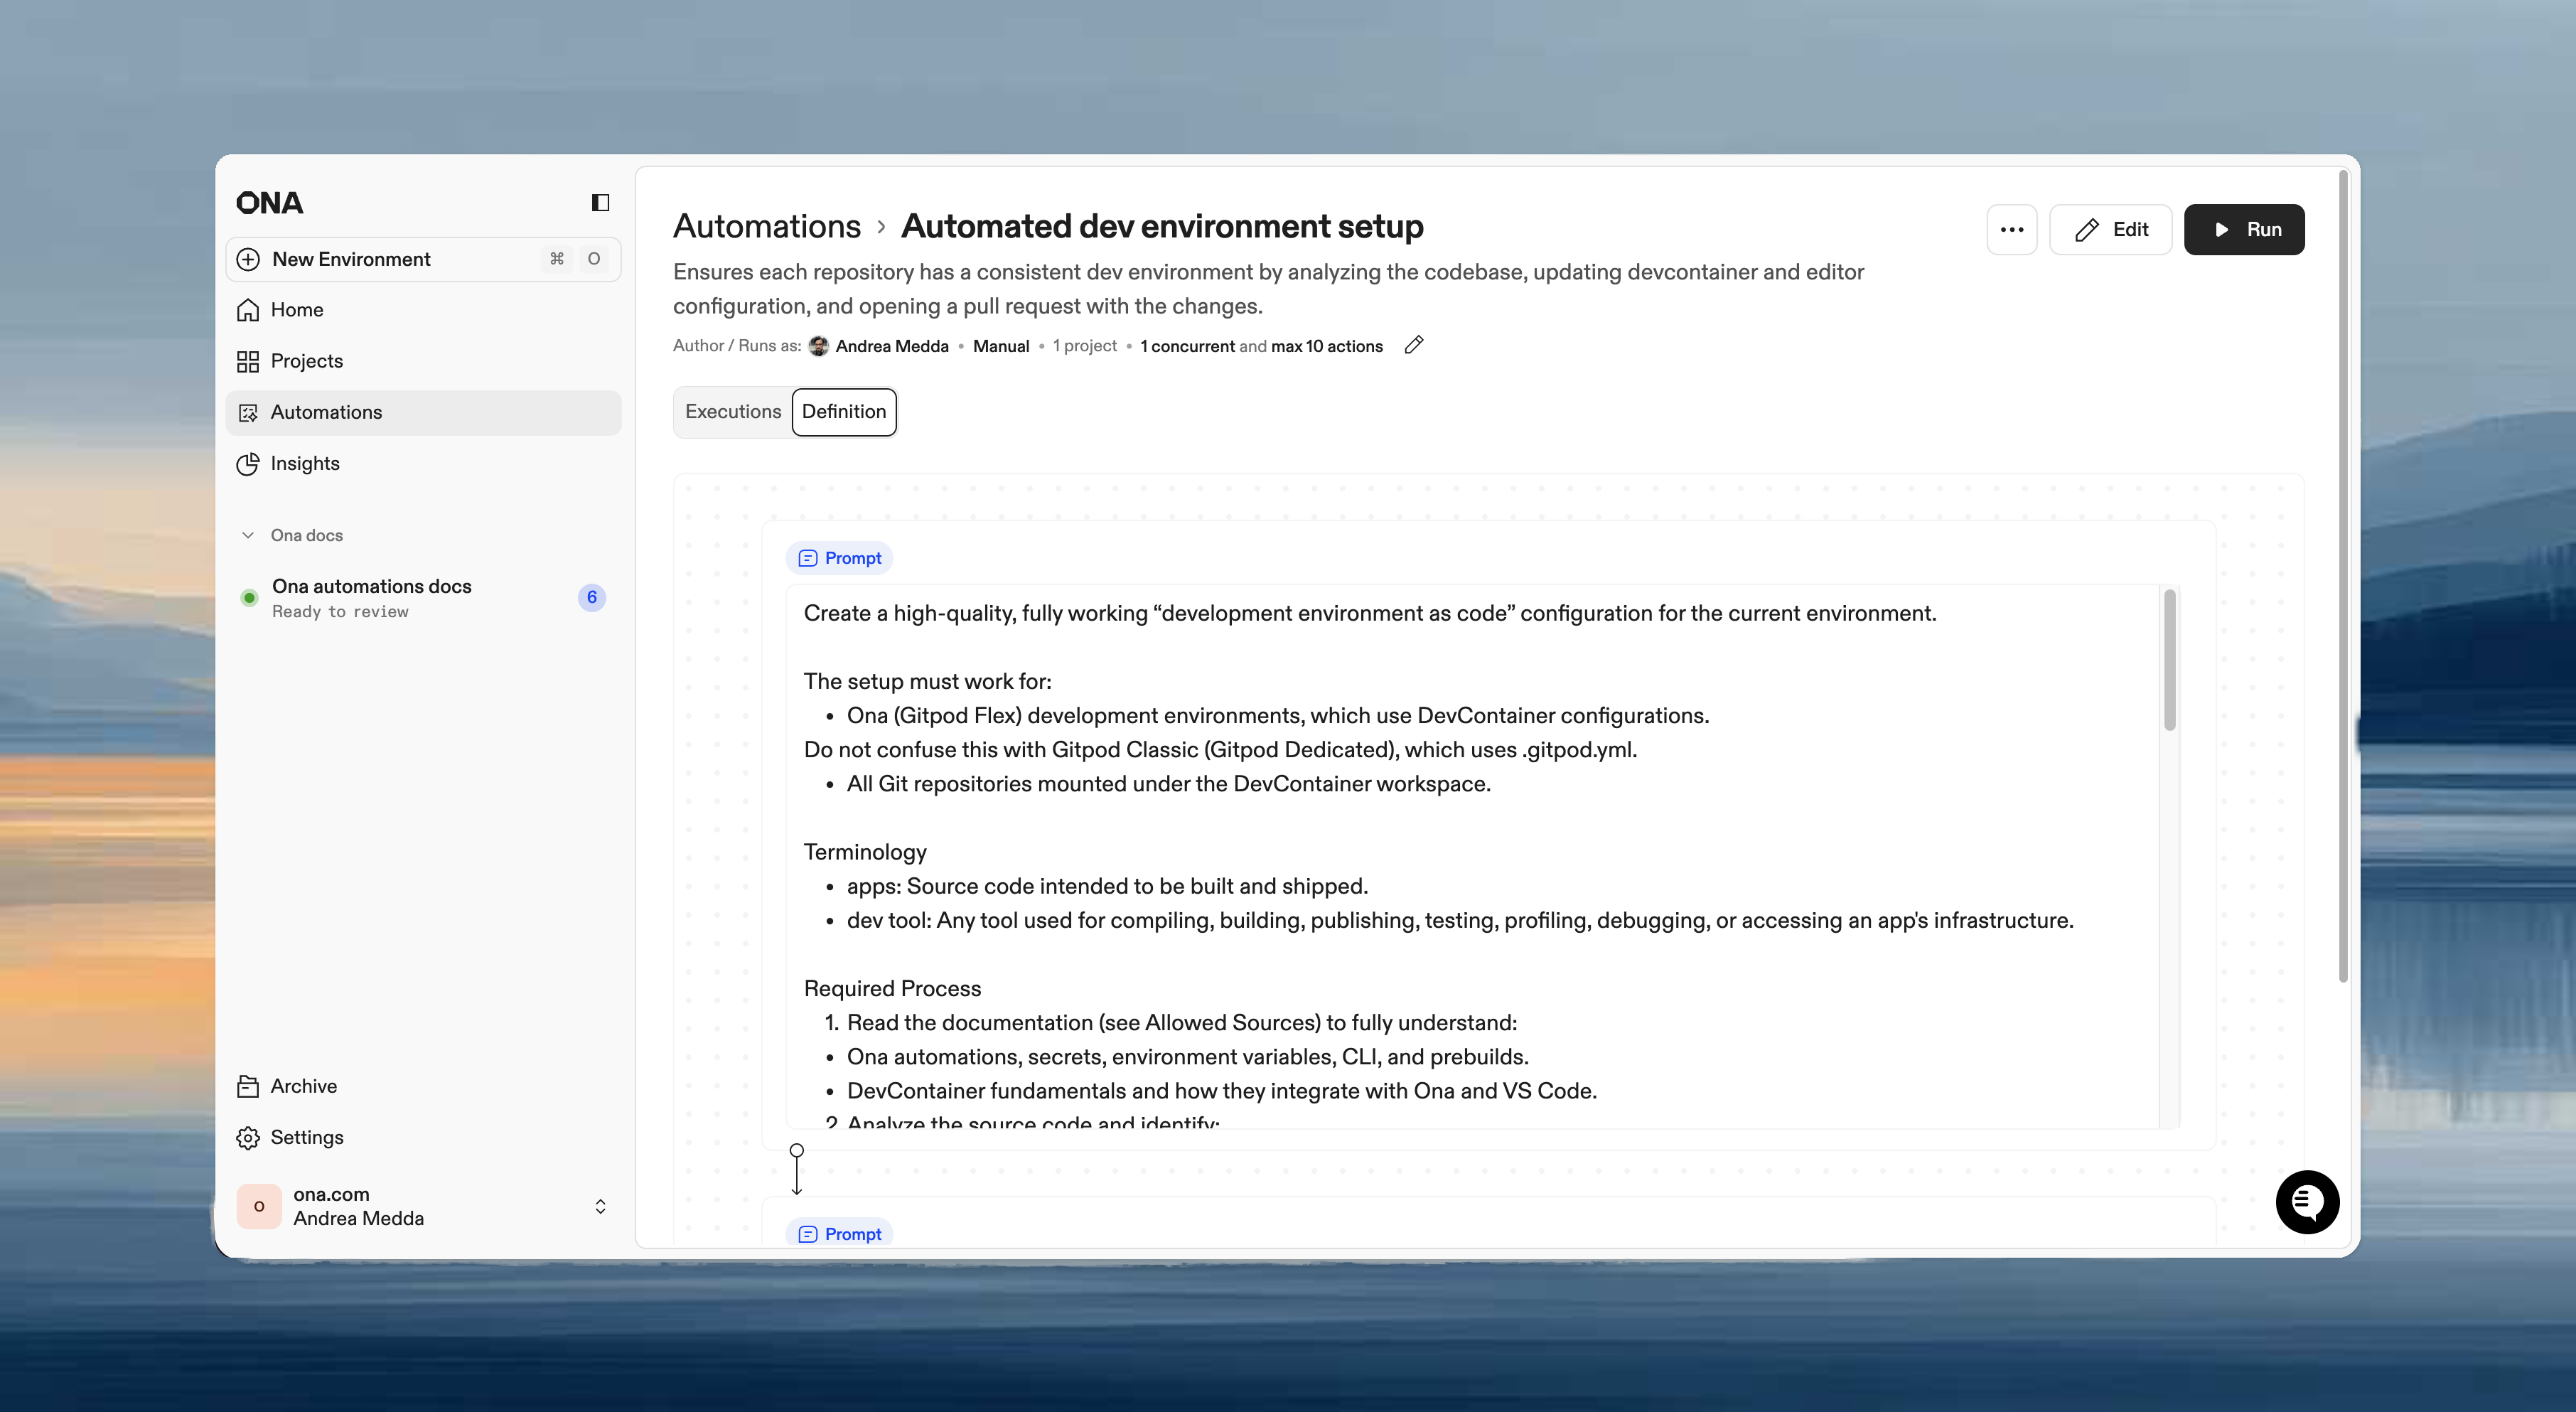
Steps
Steps execute in sequence within the same environment. Each step can access files, environment variables, and context from previous steps.Step types
| Type | Use when |
|---|---|
| Prompt | Flexible tasks requiring agent judgment: “analyze and improve”, “update based on context” |
| Command | Deterministic operations: npm test, docker build |
| Pull request | Submit changes for review after making modifications |
| Report | Extract structured data from the execution: test coverage, dependency counts, build metrics |
Example workflow
- Use prompts for context-aware tasks that vary by repository.
- Use commands for predictable, repeatable operations.
- Combine both: commands for validation, prompts for intelligent changes.
Save and edit
Click Save to create the Automation. All settings can be modified after creation.Pull request triggers require a webhook. Select an existing webhook or create a new one from the trigger configuration. See Pull request triggers for details.