

Only organization admins can share Automations. Having the Admin role on a single Automation is not enough.To give a team admin access to all Automations in the organization, assign the Automations Admin role to their group instead of sharing Automations individually.
Roles
When sharing an Automation, you assign a role that controls what the recipient can do:Share with everyone (General Access)
Available on Core and Enterprise plans.
- Open the Automation and click Share.
- In the General Access section, select Everyone in .
Share with individual users
Available on the Enterprise plan.
- Open the Automation and click Share.
- Search for and select users to add.
- Choose a role for each user.
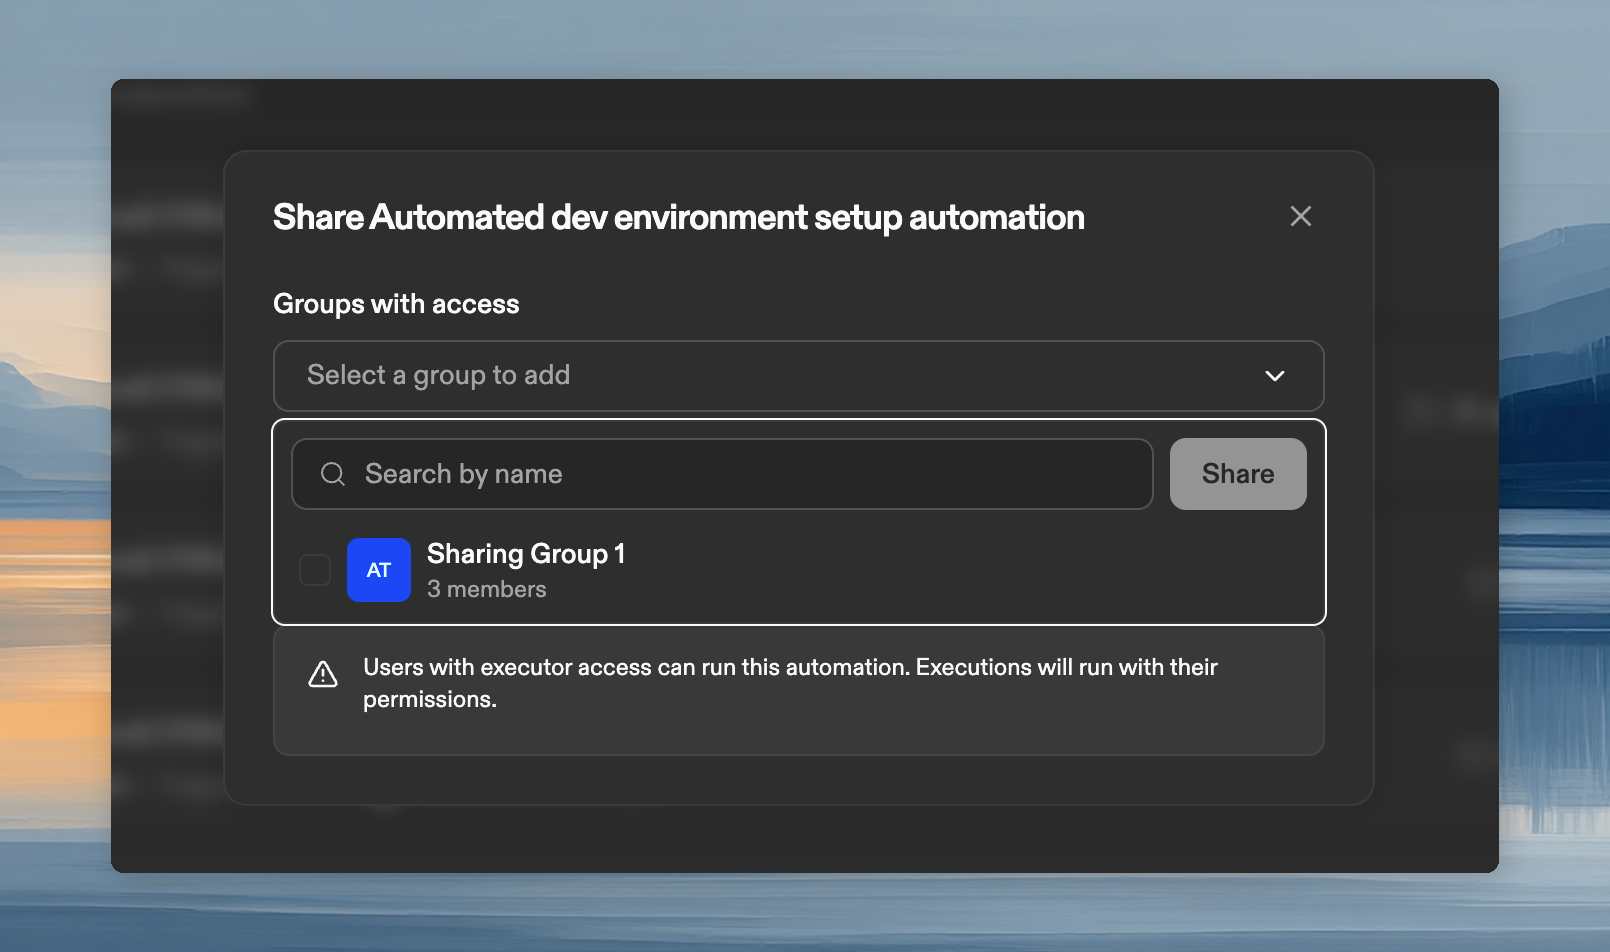
Share with groups
Available on the Enterprise plan. Custom groups must be configured first.
- Open the Automation and click Share.
- Select groups to add.
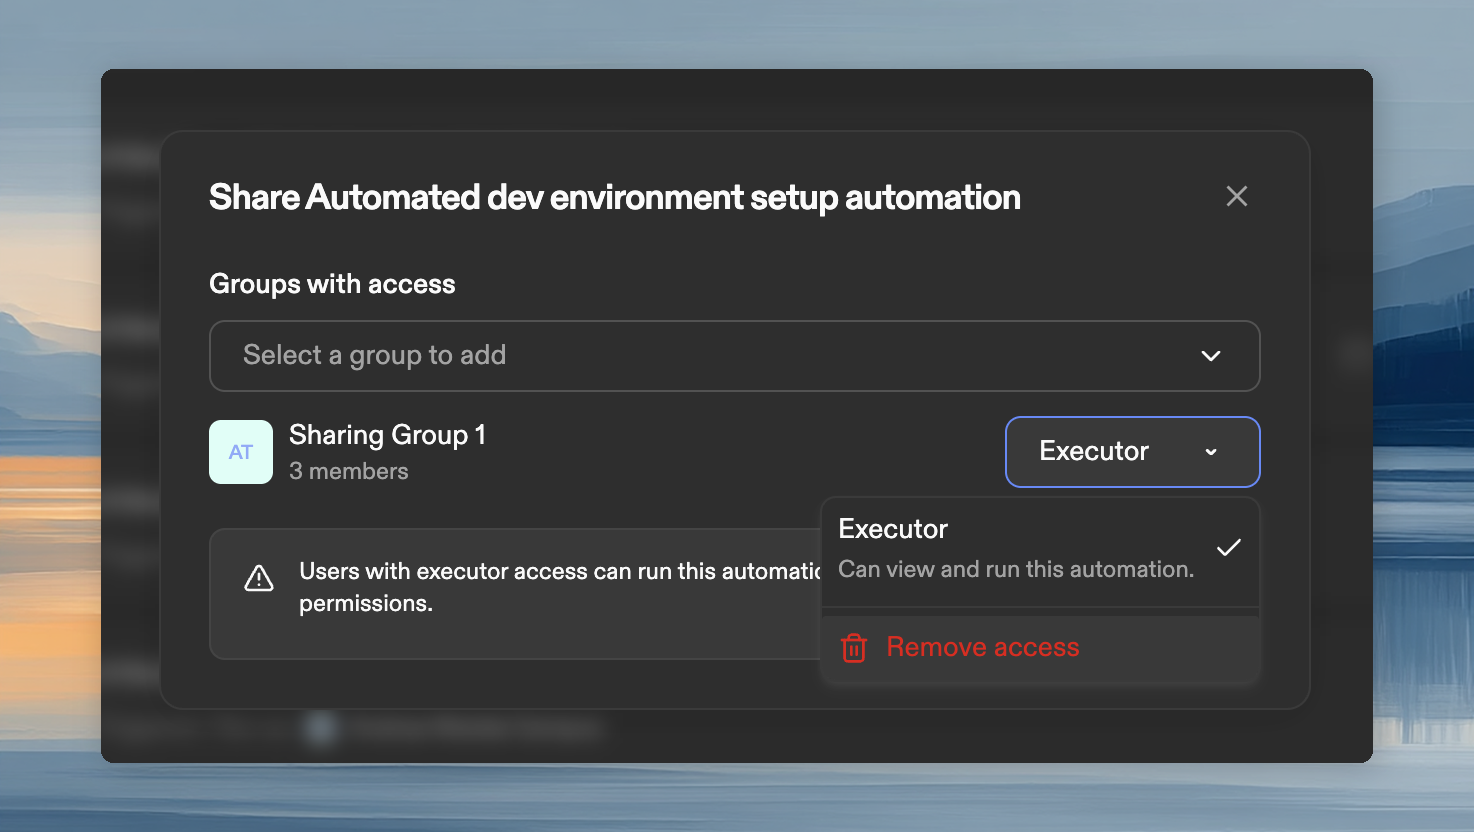
- Choose a role for the group.
Remove access
- Click Share, find the user or group, click the role dropdown, and select Remove access.
For Automations shared with users
Automations that are shared with a user appear in their Automations list. Depending on their role, they can run or view them on any project or repository you have access to.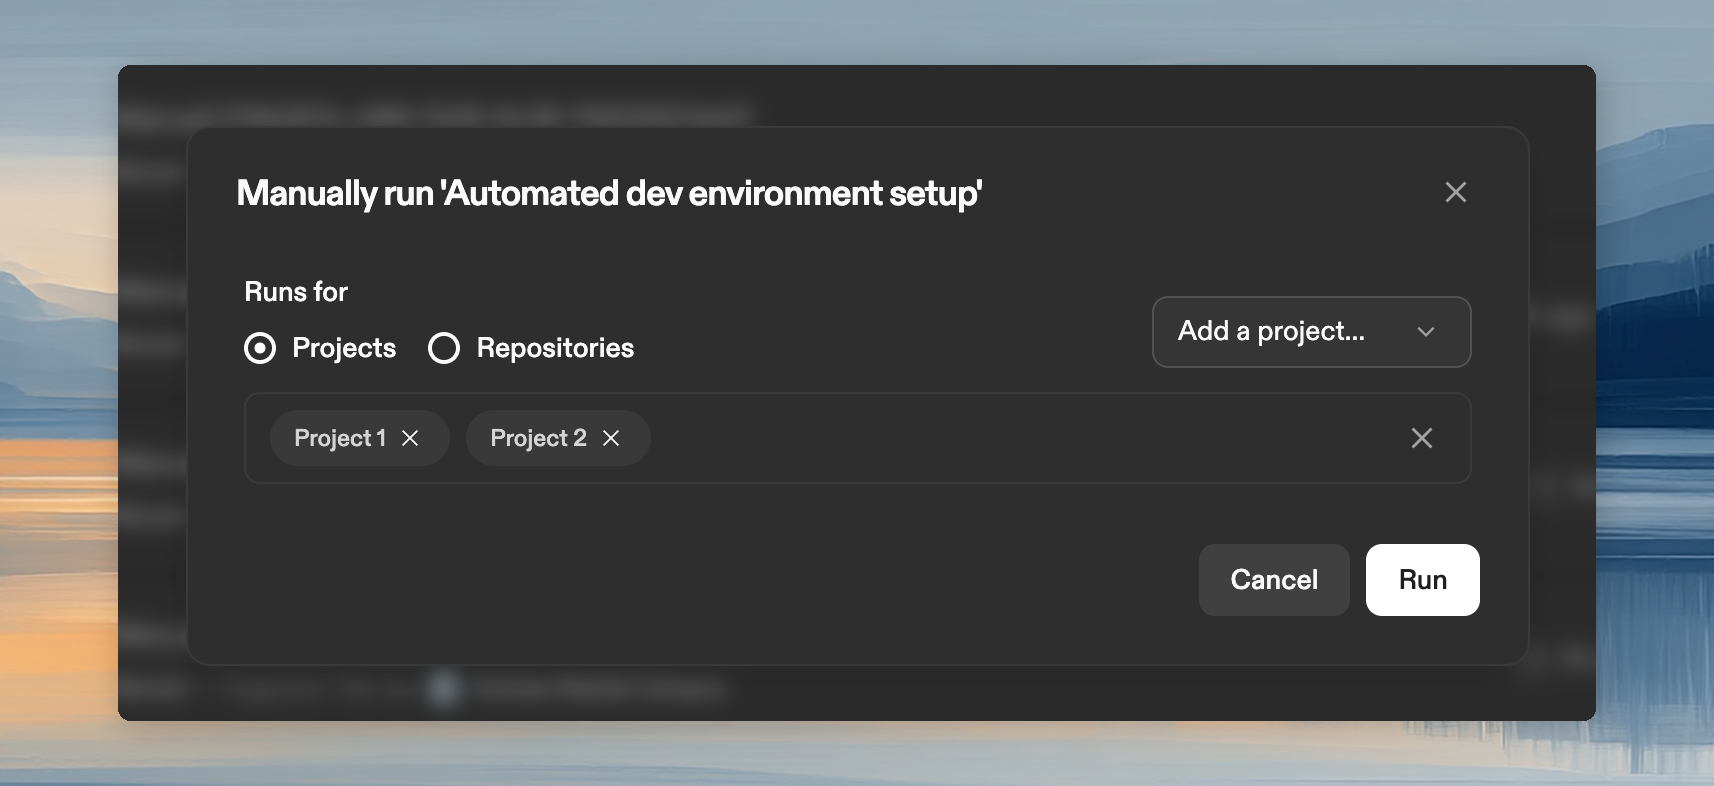
Automations run under your identity. Commits and PRs are attributed to your account, using your SCM permissions.